How to Create a Living Room Plant Corner That Looks Intentional
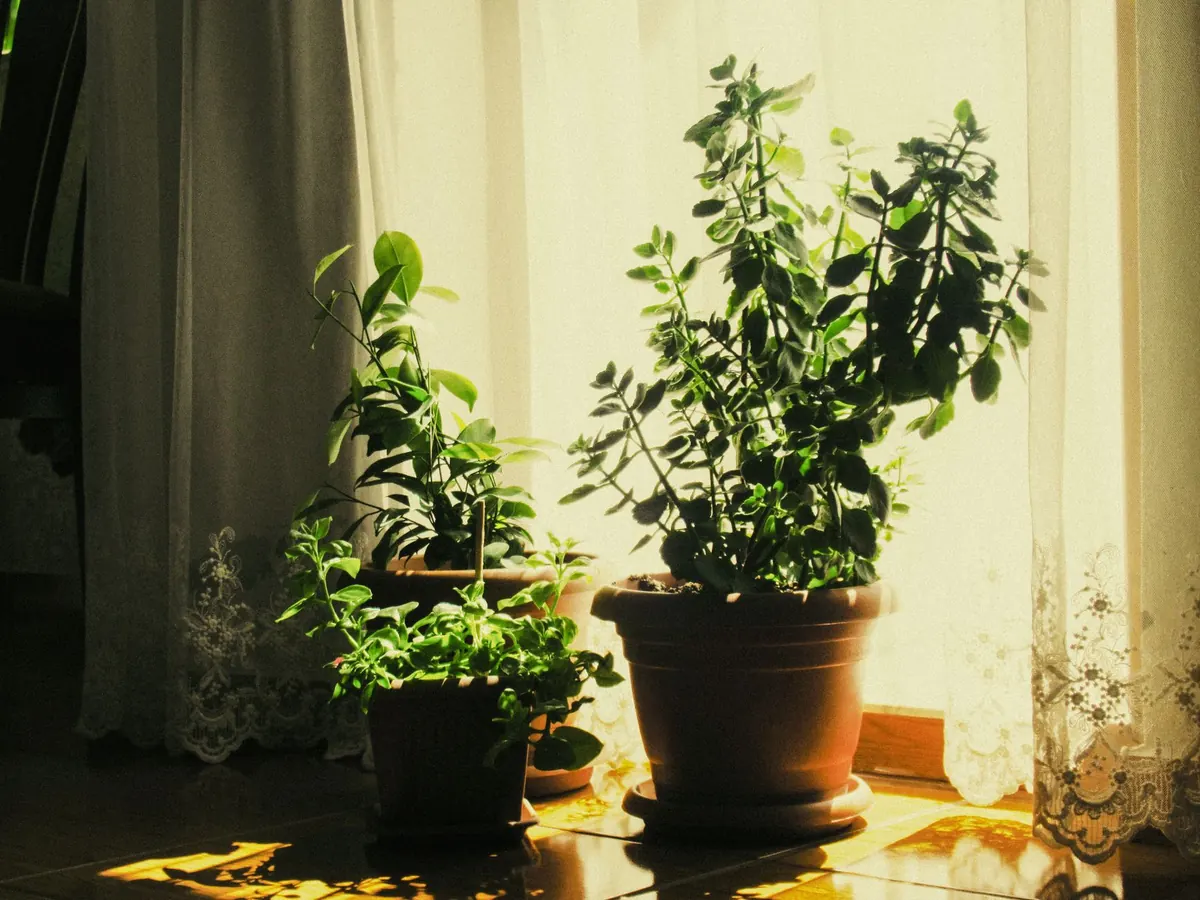
A plant corner rarely fails because the plants are wrong. It fails because they arrived one at a time, each in whatever pot it came in, and were parked in the first available gap. The result is a nursery shelf rather than a styled corner: pleasant, but not quite on purpose.
Making it intentional doesn't take much money or a designer's eye. It takes three decisions made deliberately — how tall each plant sits, how its leaves catch the light, and what colour its pot is. Get those three working together and even a modest collection reads as a considered arrangement.
Start With the Corner, Not the Plants
Before you move a single pot, look at the space as though it belonged to someone else. How wide is it? Which way does the light fall? Is there a radiator, a socket, a door swing or a curtain that already has a claim on the floor?
An ordinary corner in a room with a decent window will usually support the easygoing plants most of us own — snake plants, ZZ plants, pothos, rubber plants and monsteras all cope with bright, indirect light and a little neglect. Ferns and calatheas want more consistent moisture and no direct sun, so they belong further from a south-facing window rather than pressed against it.
Then decide what kind of corner you're styling. A corner seen head-on from the sofa or the doorway deserves the full treatment: an anchor plant, a stand, a wall shelf. A corner that only ever gets seen from behind an armchair is better kept simple, with one tall plant and clear floor space. Trying to style a corner nobody looks at is how clutter starts.
Build a Height Triangle
The single biggest reason a group of plants looks accidental is that everything sits at the same level. Five pots on the floor, all 40cm tall, will look like five pots on the floor no matter how handsome they are.
Instead, work in three tiers. Give the corner one anchor plant that stands roughly 1.2m to 1.6m tall, a middle layer sitting somewhere between 60cm and 90cm, and low growers at 20cm to 40cm. Add one trailing plant to soften the edge, and the group has a shape rather than a lineup.
- Place the anchor first. Put the tallest plant where it will partially screen the meeting point of the two walls. It doesn't need to sit in the very corner; a few centimetres forward looks more natural.
- Add the middle tier. A mid-height plant on a stool, a low bench or a slim side table bridges the gap between floor and tall foliage. Without it, the arrangement looks split in two.
- Fill the front with low growers. Smaller pots at the base hide the stems of the anchor and stop the floor looking bare.
- Let one thing trail. A pothos or ivy on the middle tier, falling towards the floor, is what makes the group feel like a planting scheme rather than a shelf of stock.
If everything is still the same height
Raise things. A wooden stool, a turned-over crate, a stack of two sturdy plant stands or a small footstool will each add 30cm to 45cm and cost very little. If you'd rather not buy anything, swap your tallest plant to the back and put a low bowl of small plants on top of an existing side table.
Mix Textures, Not Just Species
Leaf shape and surface matter as much as plant names. A group of glossy, large-leaved plants — rubber plant, monstera, philodendron — flattens into a green mass, because there's nothing for the eye to separate. Aim for contrast in leaf size and finish.
- Large and glossy: rubber plant, monstera, philodendron.
- Fine and feathery: ferns, asparagus fern, tradescantia.
- Upright and architectural: snake plant, aloe, dracaena.
- Small and rounded: pilea, peperomia, hoya.
- Trailing: pothos, string of hearts, ivy.
You don't need one of each. Three categories, repeated once, is plenty. Repeating a texture — two glossy leaves, say — actively helps a group look collected rather than random. It's the same principle as repeating a cushion colour across a sofa.
Choose Two or Three Pot Colours, Then Stop
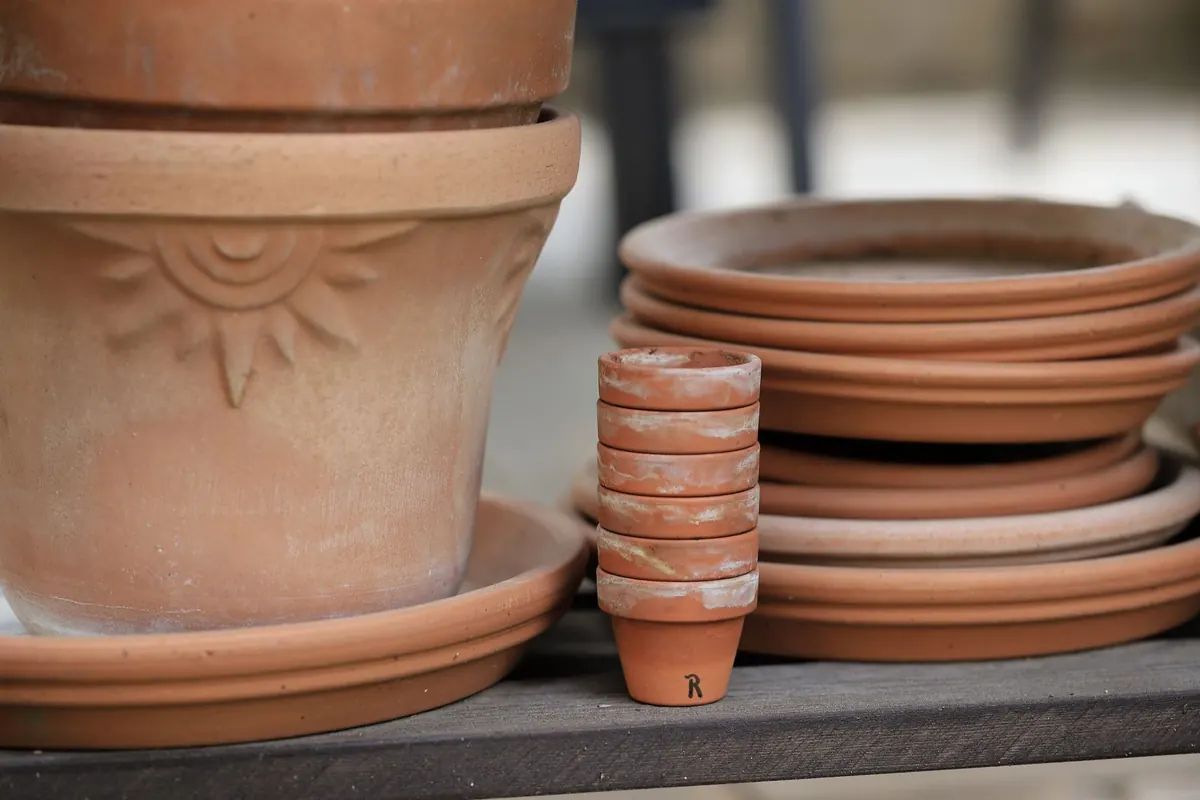
Pot colour is the fastest fix available, and the easiest to get wrong by being too generous. Pick two or three finishes and hold to them across the whole group: terracotta and off-white, black and natural basket, or warm stone with one dark accent.
If you'd rather keep it even simpler, use one colour throughout and vary the shapes instead — a tall cylinder, a wide bowl, a square pot, a woven basket. A single-colour group looks deliberate almost by definition. Plastic nursery pots can stay; just drop them inside a slightly larger cachepot so nothing bright green and branded is on show.
Then repeat one of those pot colours elsewhere in the room. A terracotta cushion, a rattan lampshade, a wooden picture frame, a stone-coloured throw. That one gesture is what makes the corner feel like part of the living room rather than a delivery that hasn't been unpacked.
Use the Wall as Well as the Floor
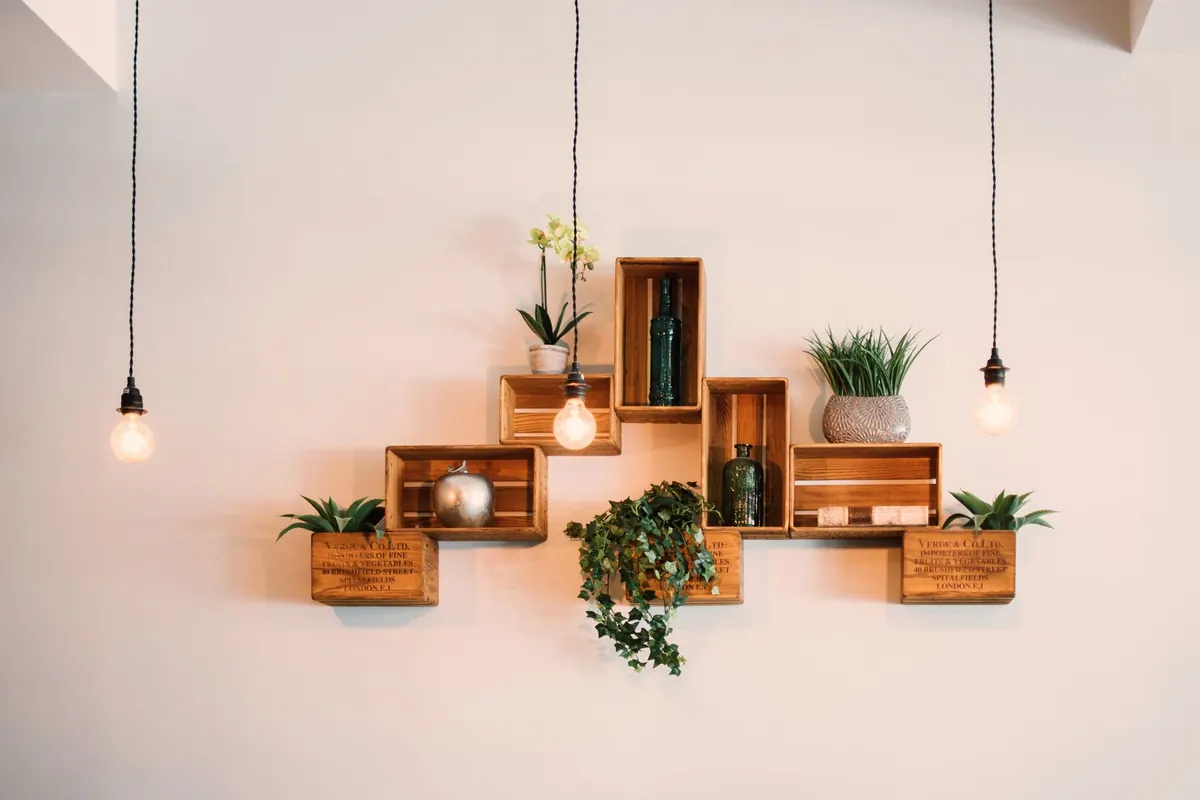
Floor space runs out long before wall space does. A single shelf fixed at roughly eye level, holding two low plants and a small object, draws the eye upwards and makes a small corner feel taller. A wall hook with a trailing pothos does the same job for even less effort.
Keep about 40cm of clear wall between whatever is on the shelf and the top of your tallest plant. Crowding that gap is what makes vertical styling look cluttered. A mirror or a framed print behind the group will bounce a little light around and add depth, though be realistic: a mirror makes a dark corner look better, not brighter enough to keep a light-hungry plant happy.
Arrange, Step Back, Edit
Assemble the group loosely, then push the pots so they overlap slightly from your usual viewing angle. Touching foliage reads as one arrangement; a row of separated pots reads as a queue. Angle the whole group a few degrees towards the room rather than squaring it to the wall.
The three-metre check
Stand where you'll most often see the corner — the sofa, the doorway, the kitchen pass-through — and look properly. Better still, take a photo on your phone. The camera flattens the scene and shows up what your eye forgives in person, and it makes a same-height arrangement or a clashing pot instantly obvious.
Then edit. Take one thing out: the weakest pot, the plant that's struggling, the extra ornament. Plant corners usually improve by subtraction, and leaving a little floor visible between pots stops the whole thing looking like a garden centre display.
Keeping It Looking Intentional
An arrangement like this only stays deliberate if you spend five minutes on it now and then. Once a fortnight, turn each pot a quarter turn so plants grow evenly rather than leaning at the window, pinch off dead leaves, and tuck stray trailing stems back over the edge of the shelf or stand. Water on a schedule you've actually checked with a finger in the compost, not a calendar.
Every few months, swap one plant with something from another room. It refreshes the group, gives the plants different light, and costs nothing.
And if a plant keeps sulking in that corner, believe it. Move it somewhere it can recover and put something tougher in its place. Styling should follow the plants' needs, not fight them — a corner that looks effortless is usually one where the plants are genuinely content.
Photo: duraksama / Pexels